Painting Plants
How to create watercolor botanical illustrations
If you love plants as much as I do, you might like sketching them! It’s a great way to enjoy nature by deeply observing it. Whenever I’m out on a hike, walk, or even in my backyard, my favorite way to enjoy nature is with my sketchbook.
As a long-time gardener, I like to think I know plants pretty well. But I always notice something new when I sketch a plant or flower. For example, I may notice how the color of the leaves is a different shade of green than I previously thought.
In this post, I’ll share my exact process for creating ink-and-watercolor botanical illustrations and landscapes. It’s a simple process and friendly for beginners. Let’s dive in!
My step-by-step guide to botanical illustration with watercolor
1. Gather your supplies and go find a plant to sketch.
Your first step is to gather your art supplies. If you are going outside to sketch, take portable supplies like the ones here in my free travel watercolor kit supply guide.
I recommend:
Travel-sized watercolor sketchbook
Water brush pen
Travel-size watercolor kit (make your own with the supplies listed in my kit)
Pencil
Pigment pen
Choose a plant that is simple if you are a beginner to drawing plants. Is there a single leaf with a shape you admire or simple flower blooming in your yard today?
Make yourself comfortable on a lawn chair, stool or picnic blanket. Plan to be there for about 30-45 minutes. Bring a hat, water, snack, or whatever you need to stay comfortable.
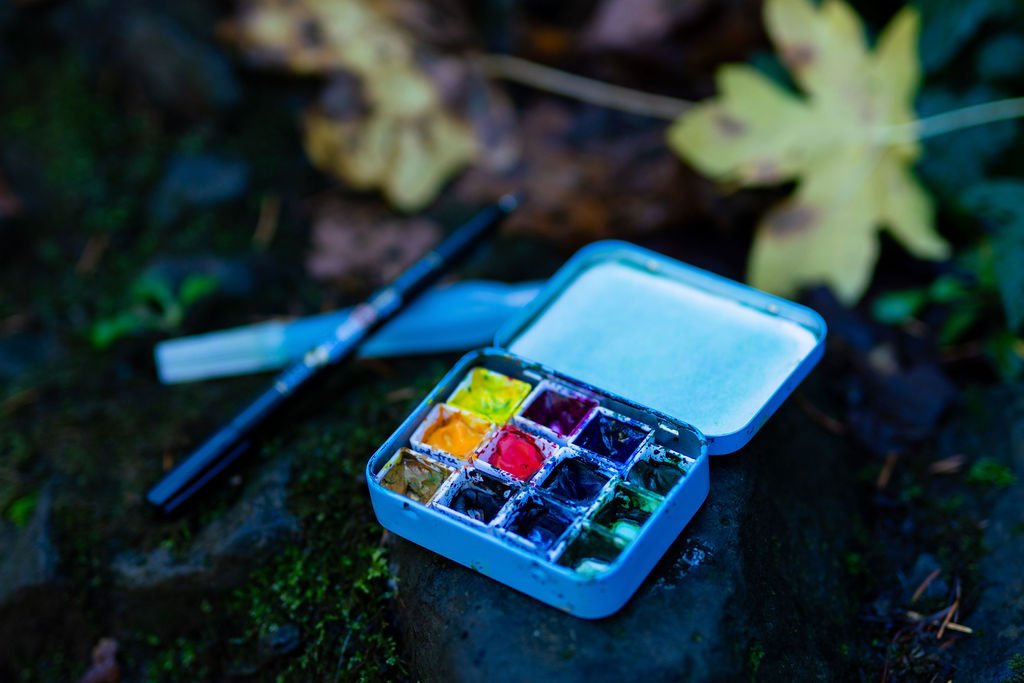
My travel watercolor kit is in a mint tin! Make one yourself with my free travel watercolor supply kit list.
2. Observe the plant shape, color, gesture, and mood
Ok, now the real work starts! Before you even touch your pencil, take a good look at the plant you are observing. What is the overall shape? Is it a triangle, oval, or square? Is it “gesturing” in one direction more than the other? Does it strike you as having a mood (jovial, grumpy, etc.)?
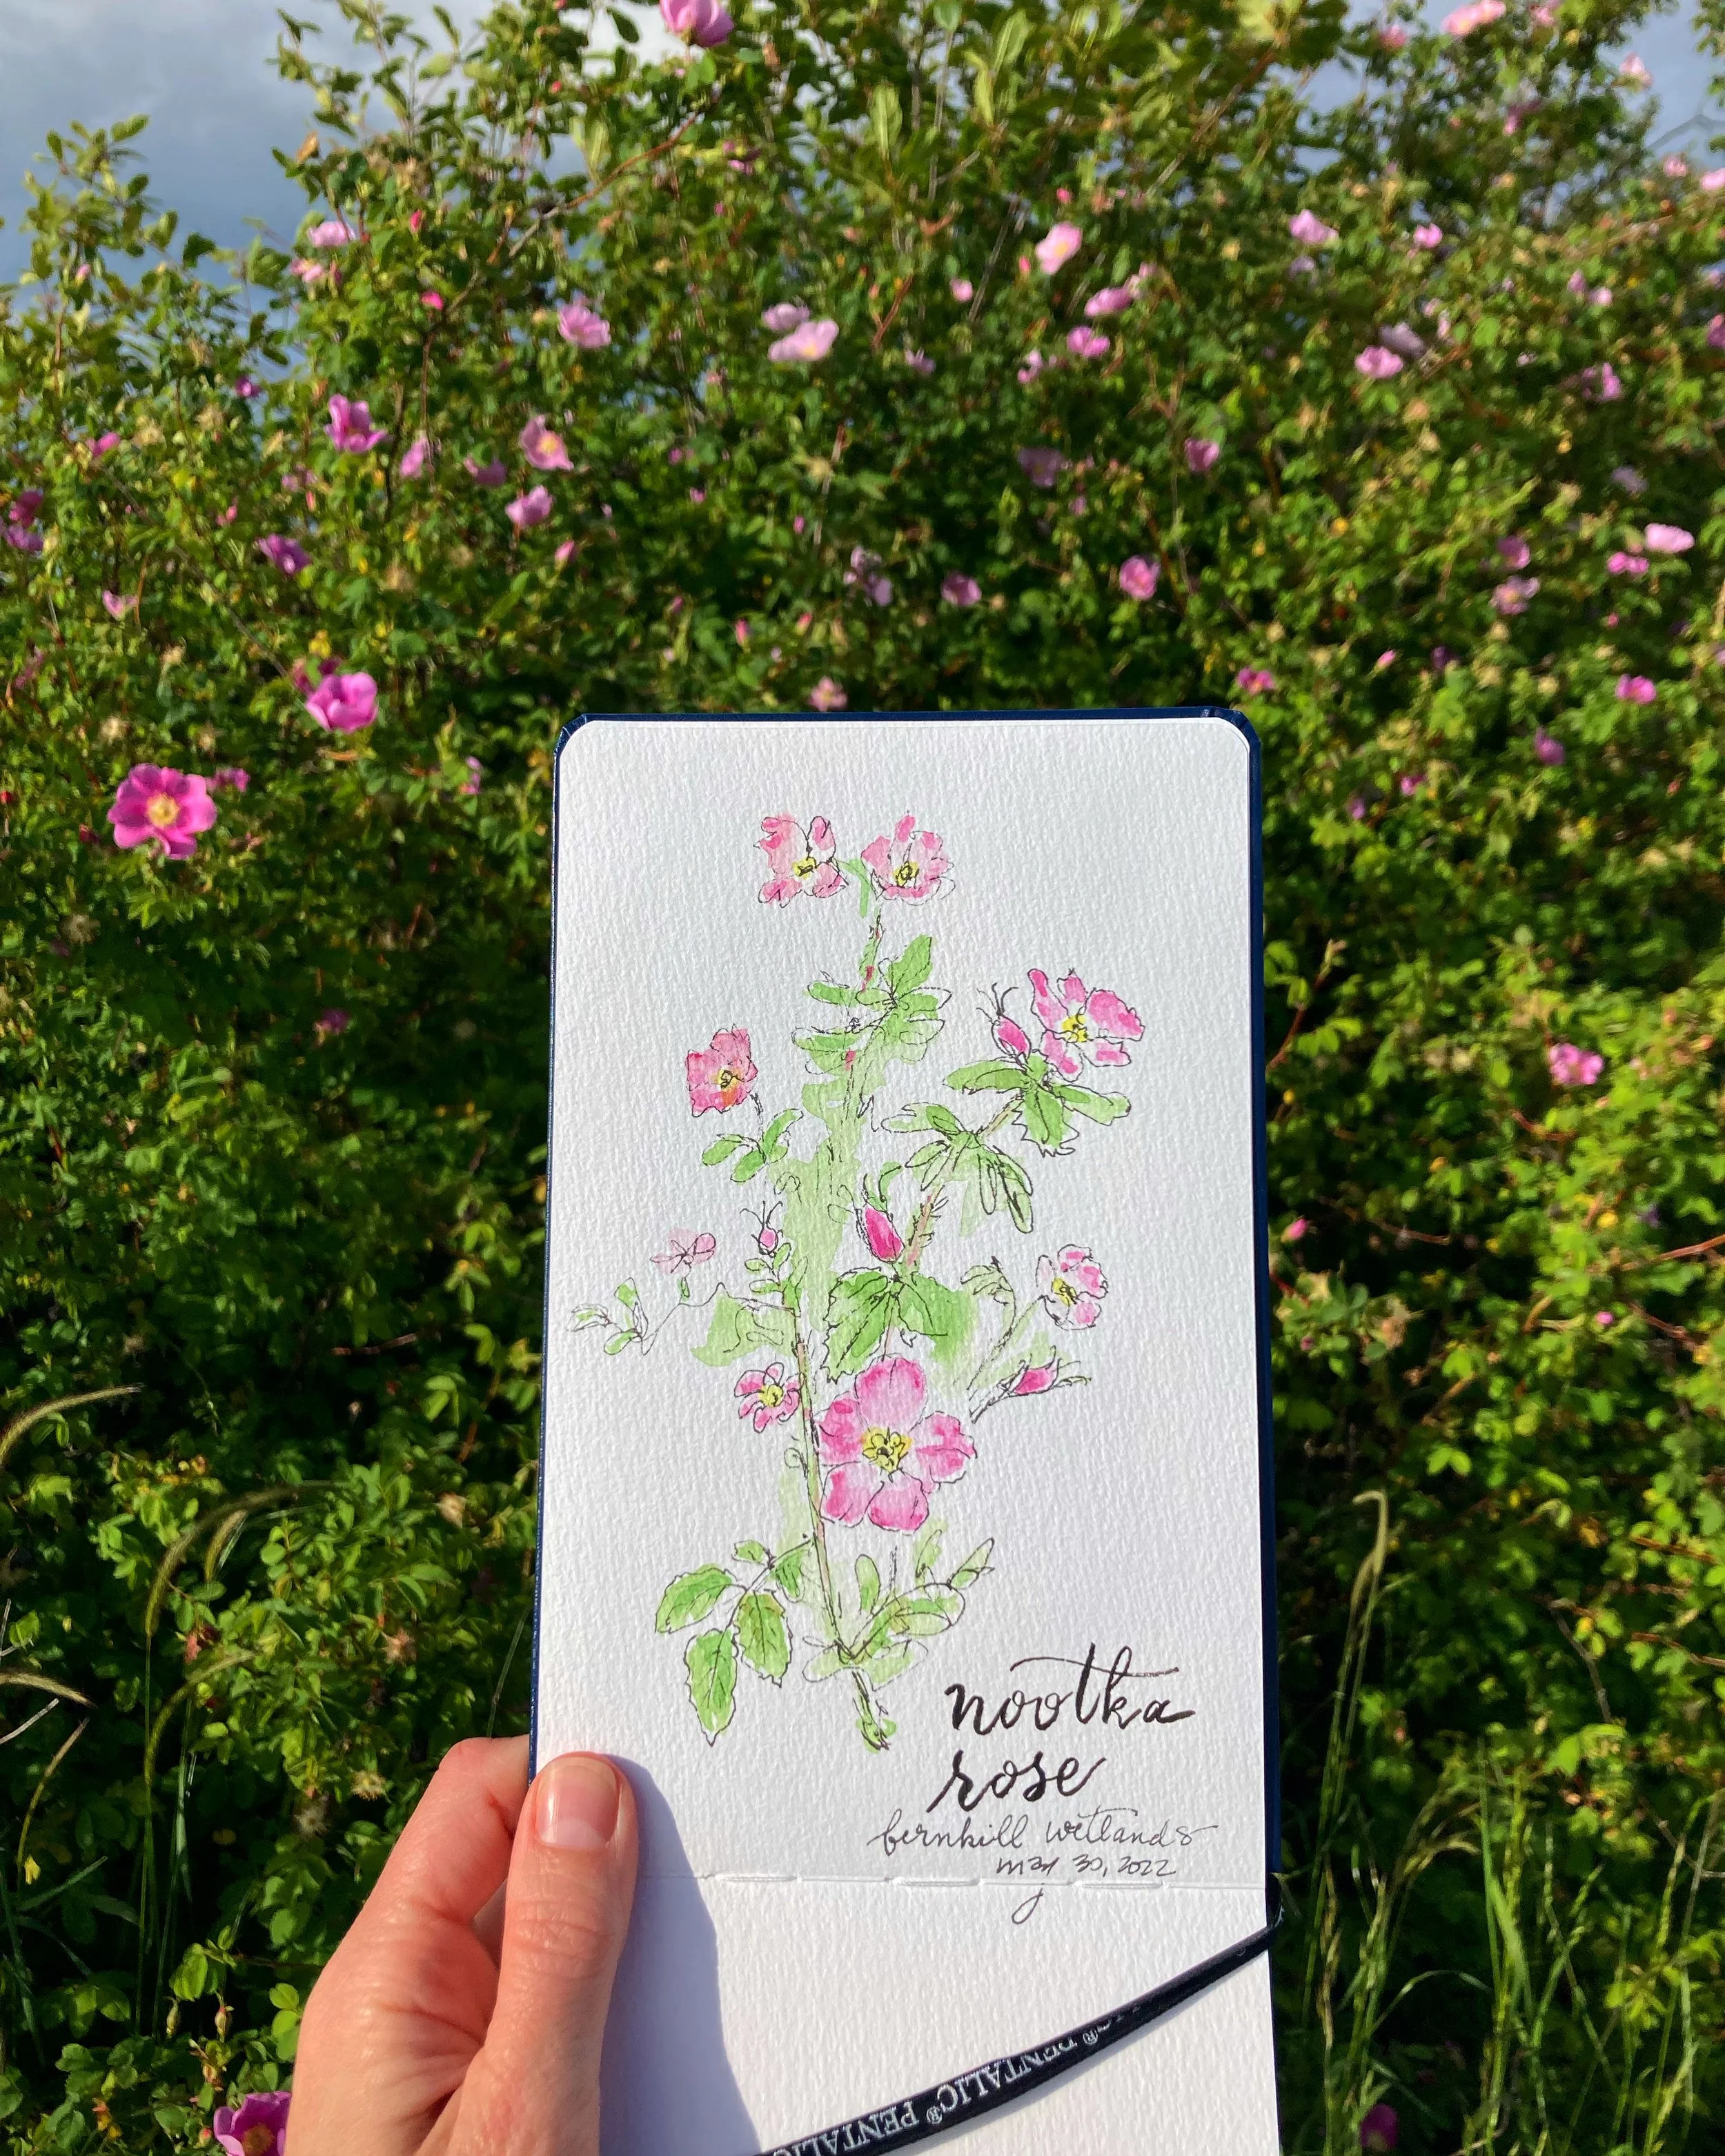
I found this fluffy Nootka Rose on a hike in Fernhill Wetlands in Oregon. Notice that I selected a small section of the huge plant for my sketch.
3. Do a rough sketch in pencil
Now that you have observed the plant, start sketching. Keep your pencil marks loose and fast. Start with the overall shape of the plant, leaf, or flower. Sketch in some details like veins, stem shape, or petals.
Personally, I find it helpful to set a timer for 15 minutes so that I don’t spend all of my time on the pencil sketch!
Making a rough pencil sketch.
4. Ink the linework and erase your pencil marks
When you are done with your pencil sketch, grab your pigment pen and start to add ink to the lines of your sketch. Make decisions at this stage which lines you want to keep vs. which lines you want to erase.
When you are happy with the ink linework of your illustration (or after 15 minutes, whichever comes first!), grab your eraser and erase all the pencil sketch marks and smudges from the sketchbook. This will create a clean surface for your watercolor paint.
Adding ink with a pigment pen.
5. Add watercolor to your sketch
Break out your paints and start to add watercolor to your illustration. This may be loose washes of color to give it a loose, dreamy look, or you may want to paint in more detail. Whether you paint inside the lines is completely up to you!
Adding watercolor to my sketch.
6. Add the plant name and other details.
Consider whether there is any information you would like to add about your sketch. Such as: plant name, where you observed the plant, the date, what the weather was like, etc.
You can make it pretty (I use modern calligraphy) or just print it in the bottom corner of the notebook as a reference to yourself.

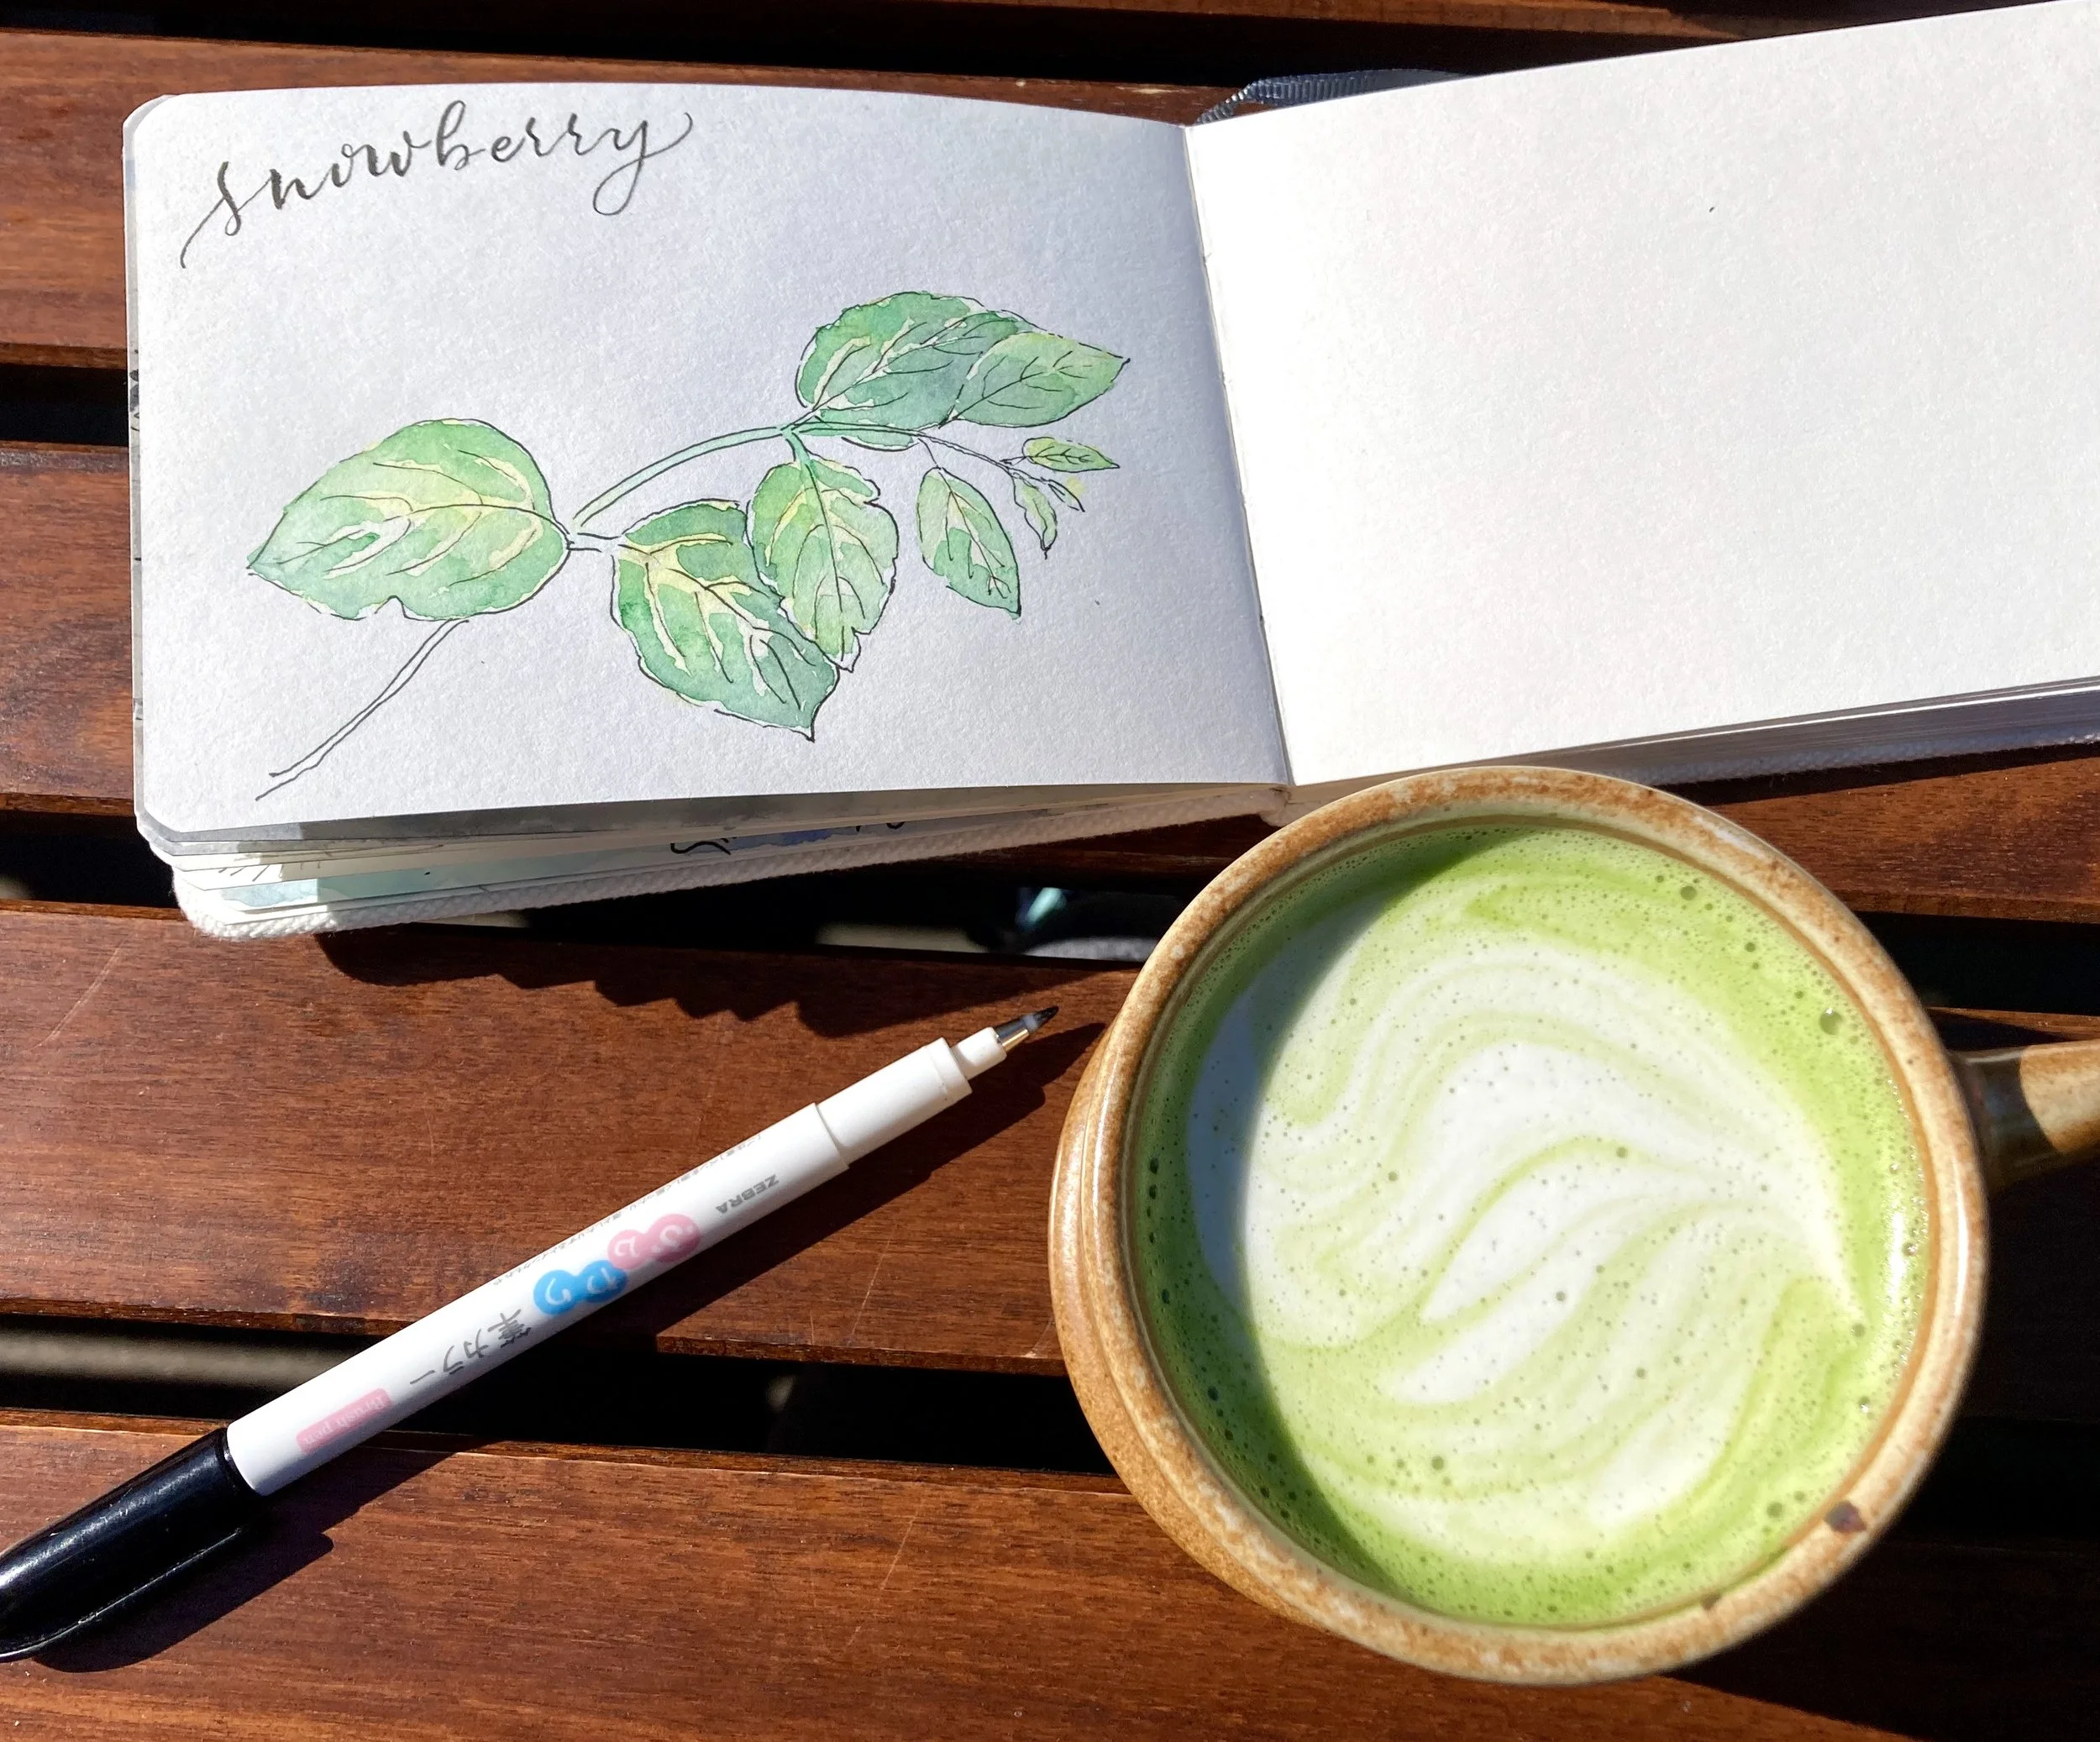
I like to add the plant name in modern calligraphy to my sketchbook.
7. Take a photo of your sketchbook next to the plant.
Now that your sketch is complete, take a snapshot of your sketch next to the plant, flower or landscape you drew. This is a great way to help you remember where you sketched it, and to show that you drew it from a real plant reference, instead of a photo.
My finished botanical and landscape sketch.
Introducing my Botanical Illustration collection
I created my collection of eight hand-drawn and painted botanical illustrations in my sketchbook while on hikes and walks around Oregon. I included each plant’s common and scientific name, hand-lettered in modern calligraphy.
The only thing the plants in this collection have in common is that I drew them while sitting outside, observing that plant. Picture me hiding under a large sun hat, crouched on the ground to get a better view, or with freezing cold hands in the Oregon drizzle!
They are available as art prints and notecard sets in my shop.


TLDR:
Start with a loose and light pencil sketch of the plant. Add some line work with a waterproof pigment pen, then erase pencil marks. Add watercolor washes. Wait for paint to dry, then pack up and head home.
What plants do you like to sketch?
Post in the comments below!
